Photos
The photo gallery is where you manage the pictures your organisation shows: upload new photos and remove ones you no longer need.
What is the photo gallery for?
You will find this page in the menu under We → About us → Photos.
The gallery collects your organisation's photos. Every uploaded image appears as a tile. To open the page you need access to the About us (profile) area.
The screen at a glance
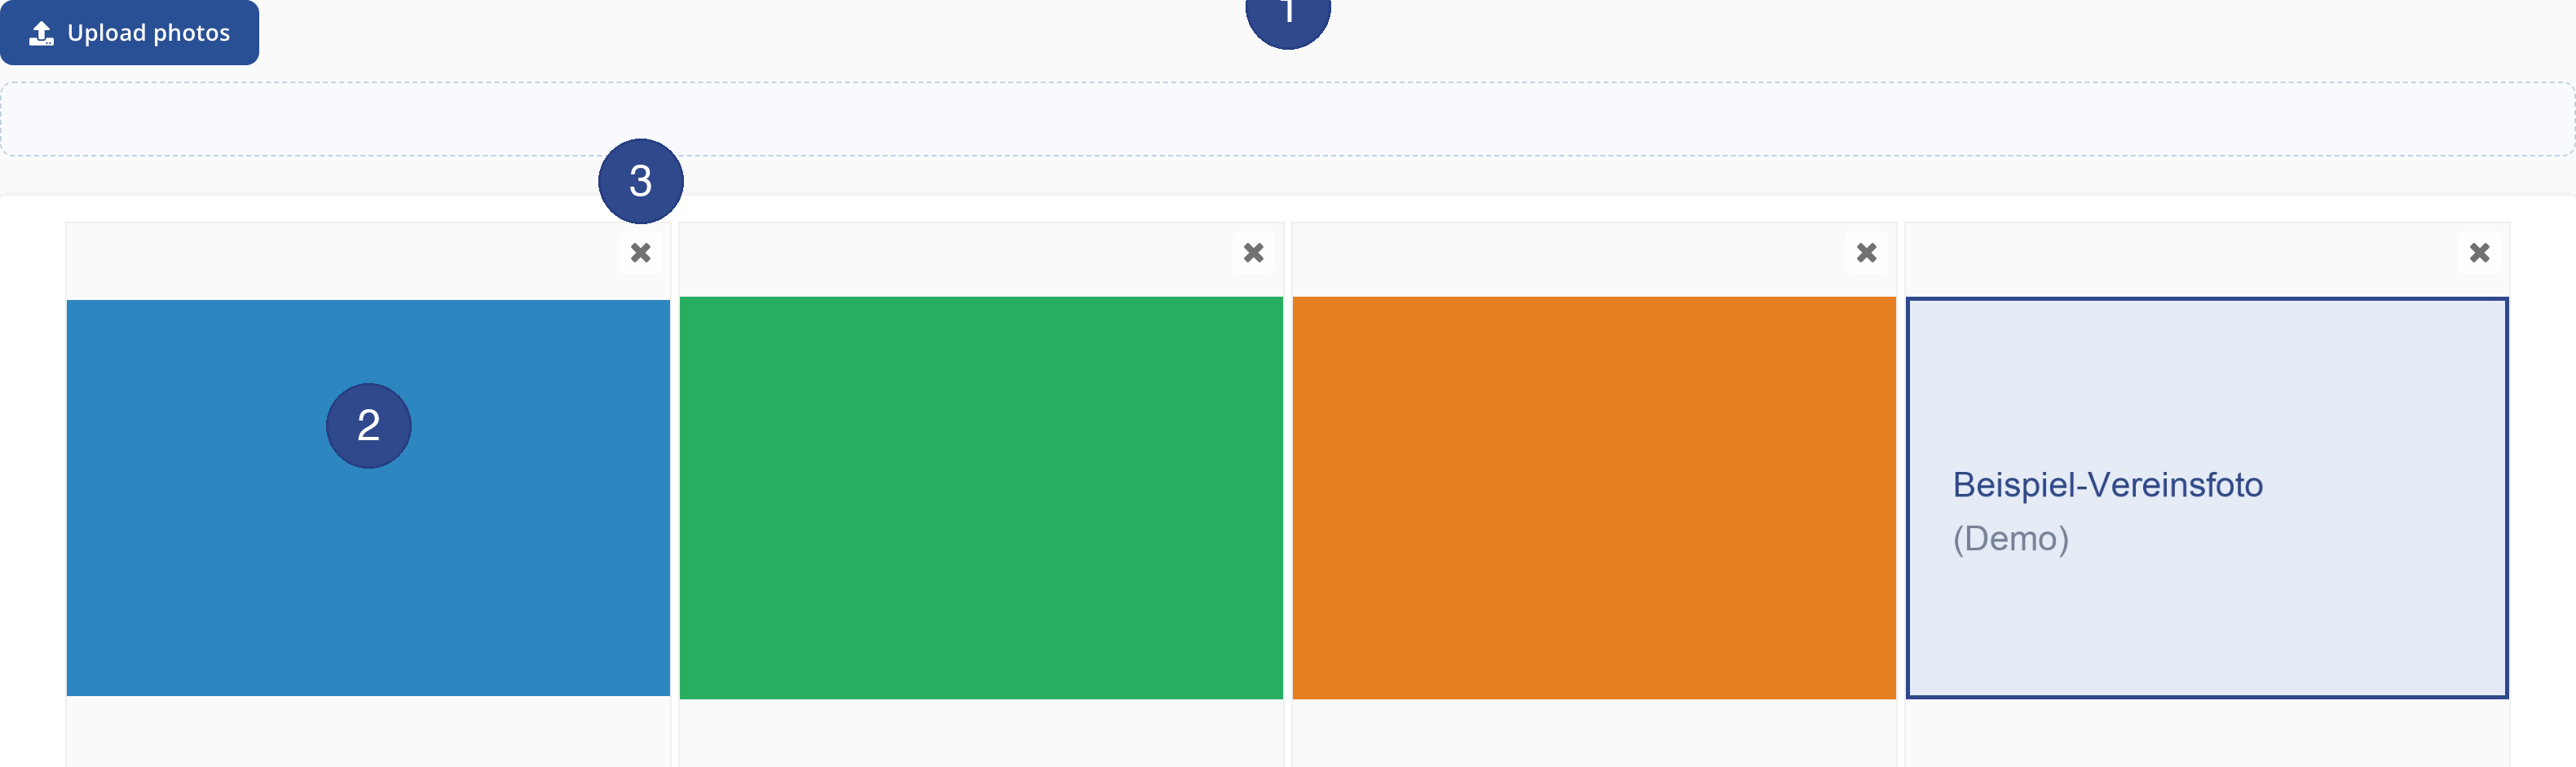
- ① Upload photos
- Use Upload photos to add new images. Drag the files into the area or select them. Allowed formats are GIF, JPG and PNG up to 10 MB per file; you can select several images at once. Uploaded photos appear in the gallery straight away.
- ② A photo in the gallery
- Every photo is shown as a tile, so you can see at a glance which images are stored.
- ③ Delete a photo
- Use the × symbol on the tile to delete a photo. spooorts asks first (Do you really want to delete the photo?); the image is removed only after you confirm.
Step by step: upload a photo
- Open We → About us → Photos.
- Click Upload photos and select one or more images – or drag them into the upload area.
- The photos are uploaded and appear as tiles in the gallery.
Delete a photo
On the photo in question, click the × (Delete) and confirm the prompt. The photo is then removed from the gallery.
Tip Use good-quality photos in GIF, JPG or PNG format. Each file may be up to 10 MB.